I have been looking to upgrade our nightstand situation for a while now. I had been using some inexpensive cube pieces from Target, but they just weren’t working for me anymore. So I went on the hunt for a great set of nightstands.
Honestly, furniture can be such a commitment! Of course I would just love to head to Restoration Hardware and pick out a set that would blow both of our socks off, but that’s not in the budget… yet! Luckily I love a good DIY project. I stumbled across the Ikea Rast nightstand and I knew I could turn it into something great.
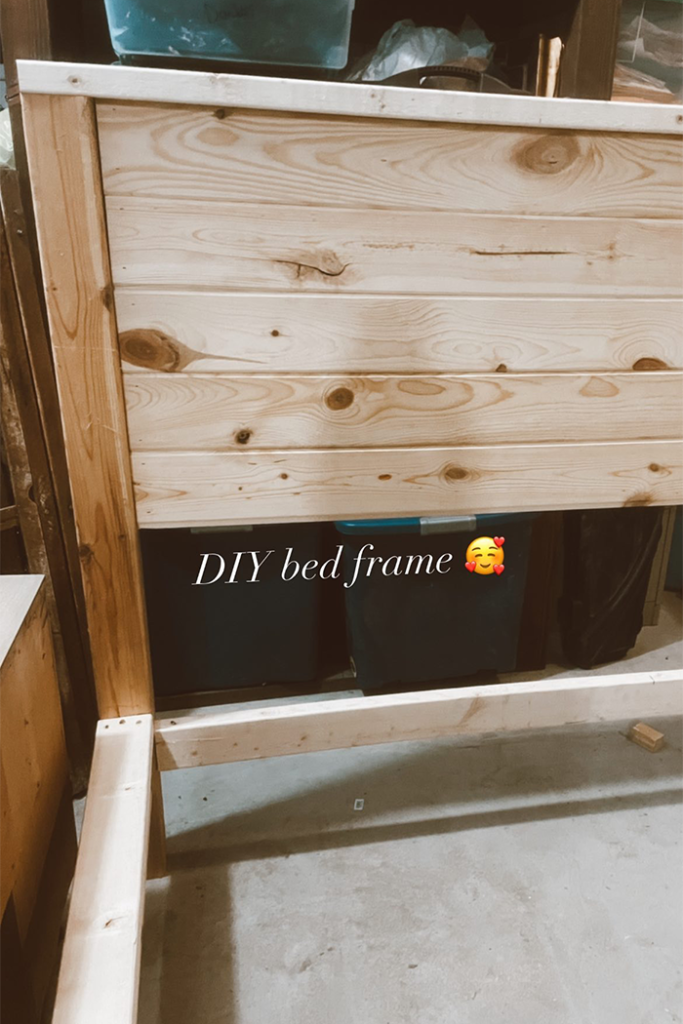
This whole project probably took me a few hours, and most of that was drying time. The nightstands turned out great and I can’t wait to see how they look next to the bedframe I’m currently building. (More on that in a blog post to come.)

If you’ve been following along on Instagram, then you know that I have been going for a modern farmhouse/modern vintage master bedroom. To be honest, farmhouse and vintage are kind of interchangeable to me so that’s why I say both. You can read more on my master bedroom evolution here.
But let’s get into the how to, and then be sure to check out some more Ikea Rast nightstand inspiration at the bottom!
How To Turn Your Ikea Rast Nightstand Into A Modern Farmhouse Nightstand
Below are the supplies that I used, but any/all of them can be swapped out to reflect your style. I recommend buying the small sample sizes of the stain first. This way you can test how each color looks on the wood before you dive into the whole project. I know it’s an extra step, and more time, but it is honestly worth it.

Initially I thought that I would use the driftwood stain option because I had seen another DIY-er use it on a project. But testing the stains helped me see that the golden oak stain would work better for the image I had in mind.
Also, I bought my nightstands off of Amazon (linked below), but they’re way cheaper straight from Ikea. Unfortunately for me, I don’t live anywhere close to an Ikea and shipping from Ikea was more than what it was on Amazon.
Supplies:

Minwax Pre-Stain Wood Conditioner
Varathane Wood Stain Golden Oak
Varathane Wood Stain Sunbleached
Polyurethane
Staining Pads or an old t-shirt or rag
Directions:
I stained my boards while the nightstand was unassembled. The reason that I did this was because I originally painted my nightstands and I needed to take it apart to evenly sand off the paint. You can stain your nightstand assembled or unassembled, it’s fine either way.
The staining method described below was inspired by this post from Chris Loves Julia.
Step 1 – Pre-Stain Wood Conditioner
Apply pre-stain wood conditioner to your nightstands where you will be staining. I highly recommend not skipping this step because these nightstands are made of pine, which is a soft wood. When applying stain to soft wood, it can appear blotchy. The pre-stain conditioner helps fix that.
Step 2 – Stain
Apply your first coat of golden oak stain. Make sure to wipe away any access stain and let each coat dry before applying the next coat. The stain I used dried pretty quick so I was able to keep going without much downtime.
Keep applying your base layer of stain until you’ve reached your desired color. I applied two coats of golden oak.
Step 3 – Apply “Weathering” Stain
Apply the sunbleached stain lightly over top of the golden oak stain. Make sure to wipe off the access stain immediately. Keep going until you have achieved the look you are going for!
The biggest thing to remember here is that there is no right or wrong way. If you end up not liking it, you can always sand it down and start over. Also, the beauty of stain is it layers well, so you can always go back in and apply another coat to achieve a different color combination.

Step 4 (optional) – Polyurethane
Apply polyurethane to your nightstand. I skipped this step because I wanted a more natural wood look. Or I was too impatient to do it, we’ll never know!
Step 5 – Add Hardware & Style
Finding the right hardware can be tricky. There are so many great options out there. Hobby Lobby is a great place to find unique drawer pulls without breaking the bank. Here are a few other options that I really liked too:
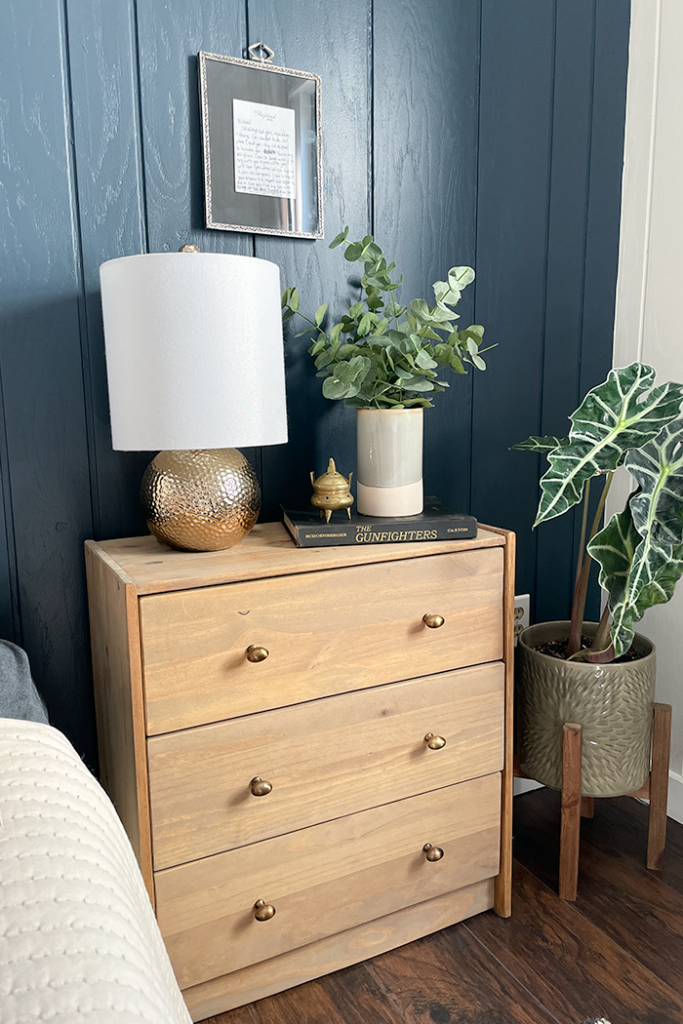
Now it’s time for the fun part, styling! Your bedroom is your sanctuary. It is where you want to unwind at the end of the day, and where you want to wake up to a peaceful room. So keep that in mind when choosing decor for your nightsand.
The three elements that I like to style a nightstand with are: lamps, books and greenery. I recommend starting with the lamps because it is often the item that will take up the most space. Find a lamp that fits your style and then find elements that complement it.
Next, I choose books with the coloring I’m looking for. I don’t even care what the book is as long as the cover has the right look. Goodwill is a great option to find books for cheap.
I love having live plants in my bedroom! I have officially turned into the crazy plant lady and I’m not ashamed. So I’ve added plants that do well in medium light to each side of the bed. If you’re not into live plants, add some faux greenery. It still has the same calming effect, without the hassle of keeping a plant alive.
Lastly, find small trinkets to add to your nightstand that tie it all together. On my side, I chose a small candle. On my husband’s side, I chose a vintage brass trinket.
*Note: Even though these photos were taken only minutes apart, the coloring is different! It’s because one side has the sun shining in where the other doesn’t.
Overall, you want your nightstand to complement eachother as well as reflect the person whose side it is. It wouldn’t make sense for me to put a candle on my husband’s side because I don’t think he’s ever once in his life lit a candle!
More Ikea Rast Nightstand Inspiration
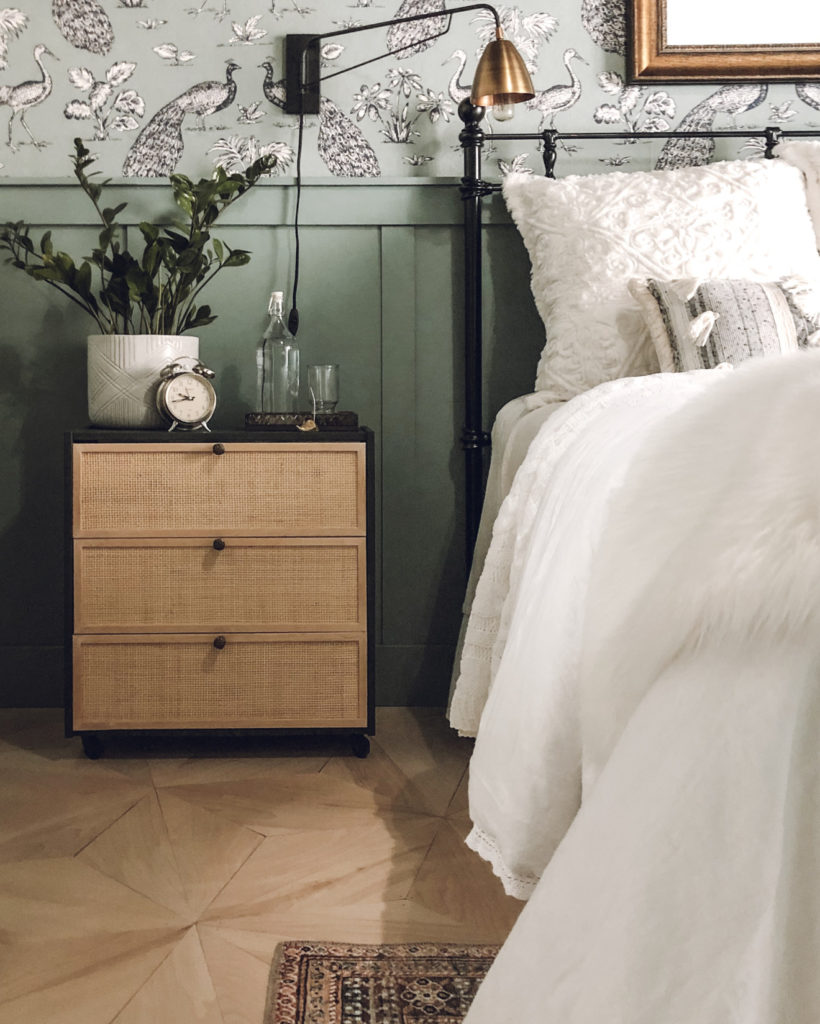
Ok, now that we’ve gone through all of that, check these out. Honestly, I’m rethinking my entire strategy after seeing these three nightstands. Aren’t they stunning?
Are you going to tackle this project? Let me know how it goes! And, if I didn’t cover something that you need to know, ask me in the comments below.


